

Cooking is a journey that blends science, art, and passion. Beyond mere recipes, mastering cooking techniques is the key to creating memorable meals that awaken the senses. Whether you’re new to the kitchen or a seasoned chef, honing your skills is a never-ending pursuit. In this comprehensive guide, we will dive into the intricate world of cooking techniques, focusing on the art of braising, the finesse of grilling, and the science behind baking. Through challenges and solutions, anecdotes and advice, let’s embark on a culinary adventure that will empower you to create masterpieces in your own kitchen.
The Art of Braising:
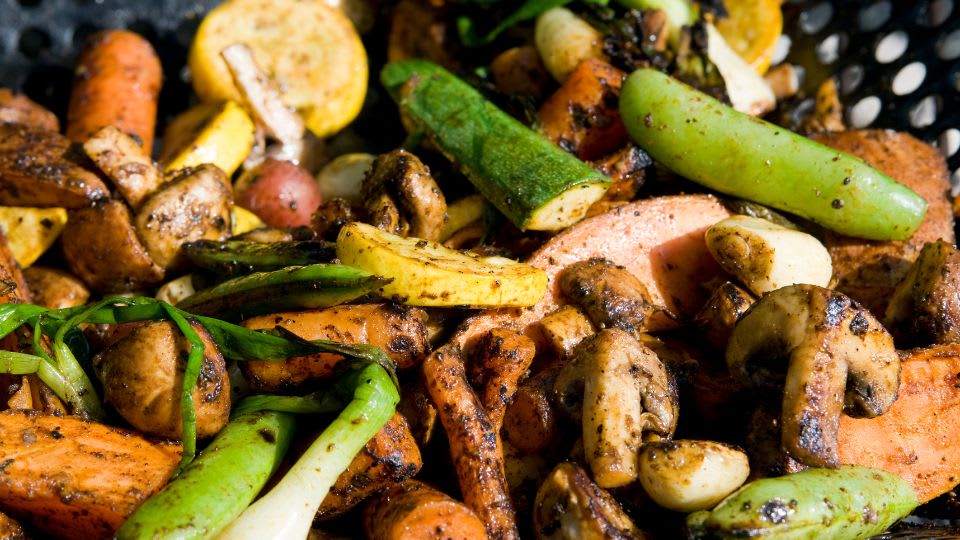
Grilling with Gusto:
Grilling transcends mere cooking; it’s an outdoor ritual that imparts smoky flavors and distinctive grill marks. However, the challenge is to master the art of heat control. Enter the world of indirect grilling, a technique that allows you to cook delicate items, like fish and poultry, to perfection. Indirect grilling involves placing the coals on one side of the grill and the food on the other, ensuring gentle, even cooking. This technique is a game-changer for achieving that delectable, juicy interior and char-kissed exterior.
The Science of Baking:
Baking is a marriage of precision and creativity. The challenge lies in understanding the chemistry behind rising, browning, and flavor development. Fear not, for there are solutions aplenty. Invest in an oven thermometer to counteract inaccurate oven readings, and ensure ingredients are at room temperature for even mixing. If your cakes tend to sink, it might be a matter of overmixing, which can trap excess air and cause collapse. Embrace the meticulousness of baking, and you’ll be rewarded with perfectly risen, tender creations.
Navigating Common Cooking Dilemmas:
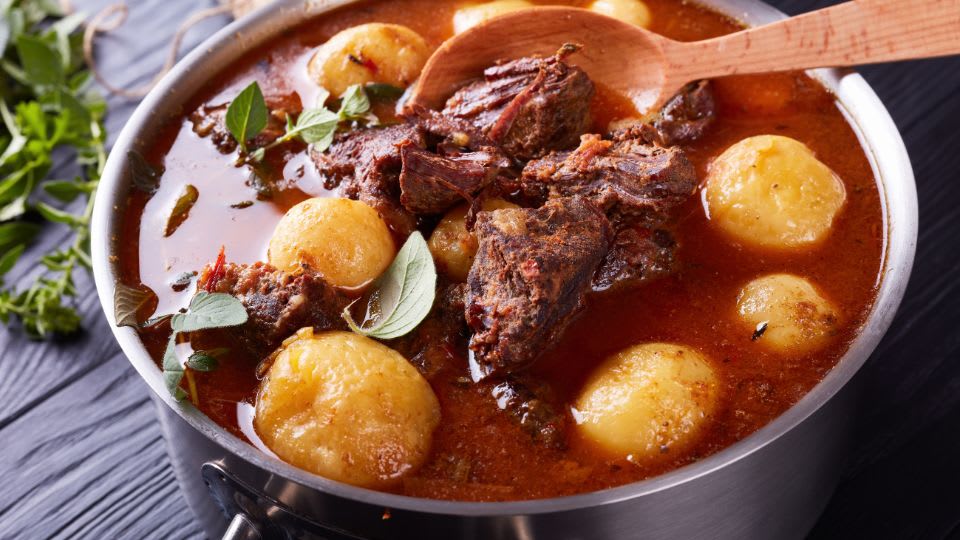
The kitchen is a realm of experimentation and occasional mishaps. When faced with tough meat, surrender to the slow cooker, a modern-day cauldron that transforms toughness into tenderness. To combat the dread of dry grilled chicken, embrace the power of brining. A brine of salt, sugar, and aromatics imparts moisture, leaving you with juicy, flavorful results. And for cakes that defy your rising ambitions, consider the magic of buttermilk – its acidity activates baking soda, ensuring a lofty crumb.
Continue to explore the detailed nuances of each technique, experiment with flavors, and embrace the journey. Remember, every setback is a chance to learn, and every triumph a testament to your culinary evolution.
Trendy Recipes to Try:
Braised Osso Buco: An Italian classic featuring tender braised veal shanks served with gremolata, a zesty condiment of lemon, garlic, and parsley.
Cedar Plank Salmon: Elevate your grilling game with this aromatic dish, showcasing salmon fillets infused with the woody essence of cedar.
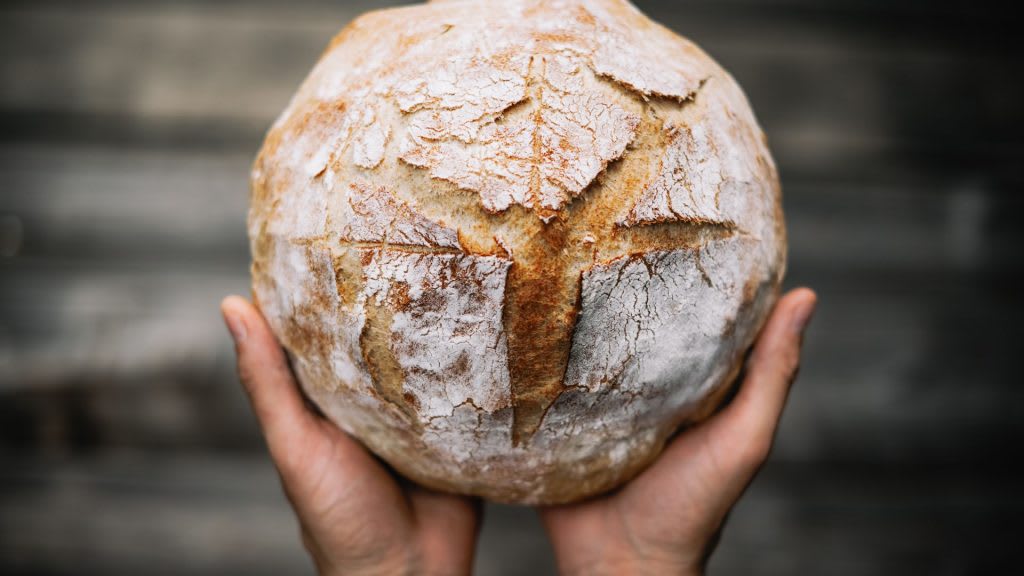
Sourdough Artisan Bread: Embark on a sourdough journey, crafting a crusty, tangy loaf that epitomizes the art of baking.
Sourdough Artisan Bread: Embark on a Flavorful Journey
There’s something magical about the aroma of freshly baked bread, especially when it’s a masterpiece you’ve crafted with your own hands. Sourdough artisan bread, with its crusty exterior, tangy flavor profile, and intricate air pockets, is the epitome of the art of baking. This timeless bread-making technique harkens back to centuries-old traditions and rewards patience and precision with unparalleled taste. Embark on a journey through the world of sourdough as we guide you through the process of creating a delectable loaf from scratch.

Ingredients:
- 350g active sourdough starter
- 500g bread flour
- 10g salt
- 350ml lukewarm water
Step 1: Preparing the Starter Begin with a vibrant and active sourdough starter. A good starter is the heart of your sourdough journey, teeming with wild yeast and beneficial bacteria that impart that distinctive tangy flavor. If your starter is stored in the refrigerator, feed it with equal parts flour and water a day before baking to activate its vitality.
Step 2: Mixing the Dough In a mixing bowl, combine the active sourdough starter, bread flour, and salt. Slowly add the lukewarm water, mixing as you go. The goal is to form a shaggy, hydrated dough that’s slightly sticky to the touch. Let the dough rest for about 30 minutes; this allows the flour to fully hydrate and kickstarts gluten development.
Step 3: Stretch and Fold To develop the dough’s structure, perform a series of stretch-and-fold maneuvers. Every 30 minutes for the first 2 hours, gently stretch the dough from one side and fold it onto itself. This process enhances gluten formation, contributing to the bread’s characteristic chewiness and crumb structure.
Step 4: Bulk Fermentation After the stretch-and-fold sessions, cover the dough and allow it to undergo bulk fermentation. This process, lasting around 4 to 6 hours, lets the dough develop flavor and rise. Perform a “float test” by gently placing a small piece of dough into a bowl of water; if it floats, your dough is ready for the next step.
Step 5: Shaping Turn the dough onto a lightly floured surface. Gently flatten it into a rectangle, then fold the sides toward the center, and finally roll it tightly into a log shape. Place the shaped dough seam-side down in a floured proofing basket or a bowl lined with a cloth, creating a cozy nest for the dough’s final rise.
Step 6: Final Proofing Cover the shaped dough and allow it to undergo the final proofing stage. This typically takes 2 to 4 hours, during which the dough puffs up and becomes visibly airy. To check if it’s ready for baking, press a finger gently into the dough; it should spring back slowly.
Step 7: Baking Preheat your oven to 450°F (230°C) with a Dutch oven or a heavy lidded pot inside. Once the oven and pot are hot, carefully transfer the proofed dough into the preheated pot. Score the top of the dough with a sharp knife to allow for controlled expansion during baking. Cover with the lid and bake for 20 minutes. Then, remove the lid and continue baking for an additional 20-25 minutes or until the bread achieves a deep golden brown color and a hollow sound when tapped on the bottom.
Step 8: Cooling and Enjoying Remove the bread from the oven and let it cool on a wire rack for at least an hour before slicing into it. This cooling period allows the moisture to redistribute within the bread, ensuring a desirable texture. Once cooled, slice into the crusty exterior to reveal the tender crumb within. Each bite is a testament to your dedication to the art of baking.
Cooking techniques are the bedrock of culinary mastery. With a solid understanding of braising, grilling, and baking, you possess the tools to create dishes that resonate with both the palate and the soul. Embrace challenges as stepping stones and solutions as revelations. As you embark on your culinary endeavors armed with newfound expertise, remember that every dish is an opportunity to tell a story, share a memory, and ignite joy at the dining table.
Ready to take your cooking to the next level?
Experience the future of culinary innovation with our personalized recipes subscription service. Unleash the power of AI-generated recipes tailored to your skill level and preferred techniques. Elevate your kitchen journey today: Get Personalized Recipes.